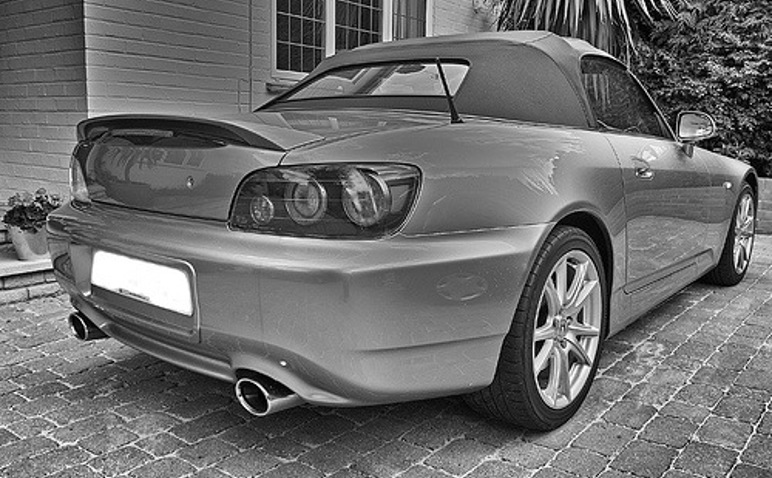
Debadging A Car
Most cars have allot of unnecessary and unsightly badges attached to them that come standard from the factory. It is a popular practice to remove some or all of these badges to give the car a cleaner look and to help enhance the lines of it. The procedure however should be undertaken correctly and safely to ensure that the surrounding paintwork is not damaged and also that the badge itself does not get damaged and remains in tact so that it can be reinstalled at a later date if desired.
The first stage to the safe and successful removal of a vehicles badge is to initially heat up the area to soften the adhesive underneath. A hairdryer should ideally be used for this instead of a heat gun as heat guns operating temperatures can get very hot and can therefore lead to the paintwork being overheated and damaged. Use the hairdryer to heat the area for around 30 seconds, hold it a few inches away from the surface and keep it moving instead of holding it in one spot.
Gently pull at the edges of the badge to see if the adhesive has softened enough. It there is no movement repeat the heating process until it becomes loose. Once loose, if you can pull the edges of the badge away with you fingers then that is ideal. Follow the contours and shape of the badge and gently pull it away from the surface. Don’t use to much force as you don’t want to snap or damage it in anyway but to remove it in one.
If the badge is sitting fairly flush to the surface of the paint work then you will need to use an appropriate tool to get underneath and help prize it up. Something like a thin plastic ice scraper or a blunt knife covered in tape and wrapped in a cloth should be used. When using a tool to remove a badge it is very important to not use the surface of the paintwork as leverage as this is when damage can be inflicted. Instead, once the tool is underneath pull it away from the surface along with the badge. As soon as enough of it has been pulled up you should continue with your fingers to be safe.
Once removed, there will most likely be adhesive residue on the paintwork that will need removing. If there is quite a large amount, then it can again be warmed up with the hairdryer to re soften it and any excess picked off with your fingers. A designated tar & adhesive remover product should then be used to remove the remainder of the residue. Working out of direct sunlight, apply onto a micro fibre towel and work into the area. Depending on how stubborn it is you may need to apply more and let it soak for a few moments, then use the towel to agitate and safely lift off the remains.
The vehicle, or at least the area should then be thoroughly washed, rinsed and dried to remove any remaining residues. After washing you should polish the area with a suitable product. The paintwork that was underneath the badge should be in a good condition as it will have been protected by the badge, so an all in one polish product would be ideal to use. You can then further seal/wax the area for enhanced protection if desired.
It should be noted that whilst most badges are stuck to a car using an adhesive backing, some badges, especially the main ones front and back and inset badges may actually be permanently fixed through holes in the body. If you think a badge may not be simply stuck to the surface then it is best to leave it or find out for sure how it is fixed before attempting removal. If badges that are permanently fixed were to be removed they would need professional body shop attention to fill any holes/fixing points and to repaint the area.
